
This assumes you have sourced a qcow2 image (I downloaded SLES15-SP6-Minimal-VM.x86_64-Cloud-GM.qcow2).
Process:
Upload Image, Create VM (attaching a copy of the qcow2 as a disk), power on the VM. Profit.
Step 1:
Upload the image to Nutanix. I’m using Prism Central but its fairly similar in Prism Element. Except for one step that I’ll note.
In Prism Central navigate to the Images page and click Add Image.
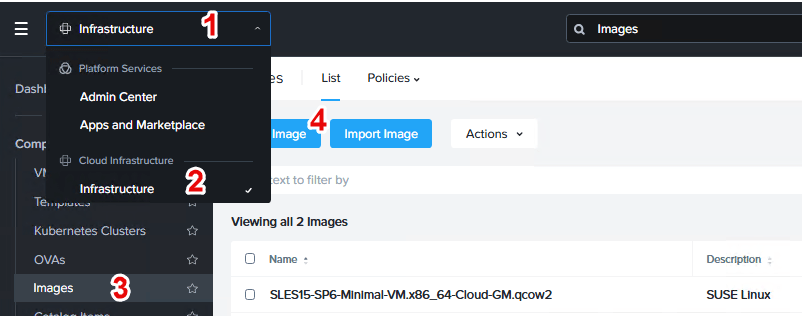
We are adding a qcow2 disk image so leave the Type as Disk. If you want to get fancy you can add the checksum value from whoever made the image.
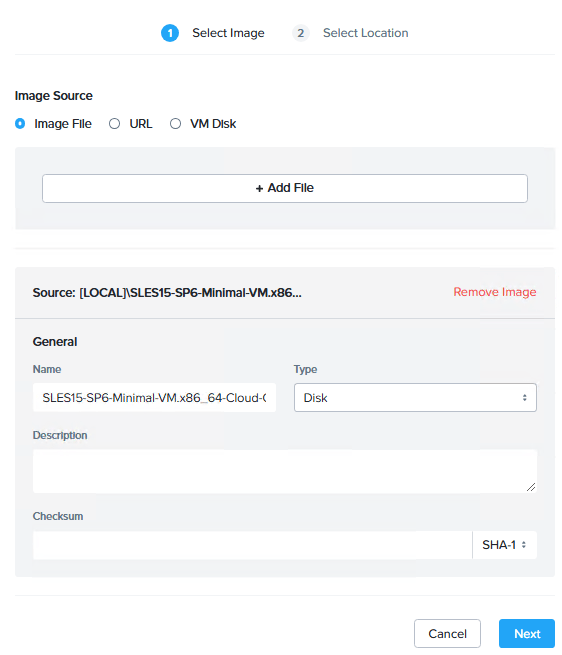
Since I’m using Prism Central I have the option of using placement policies. This allows you to associate categories with images and with clusters and then set policies which associate images with clusters using either Hard (“must”) or Soft (“should”)policies.
Note that the image will be added to the SelfService container of the cluster the Prism Central VM is running on by default and then redistributed. The images are never saved directly to Prism Central.
But, I’m not using Policies and have only one cluster so I’ll leave it alone and hit save.
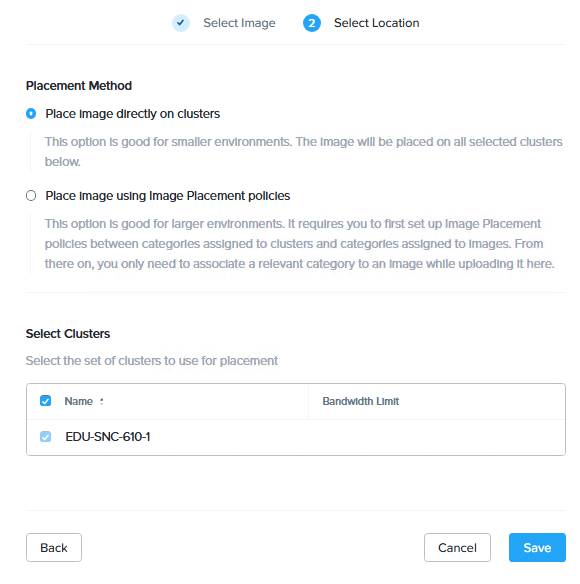
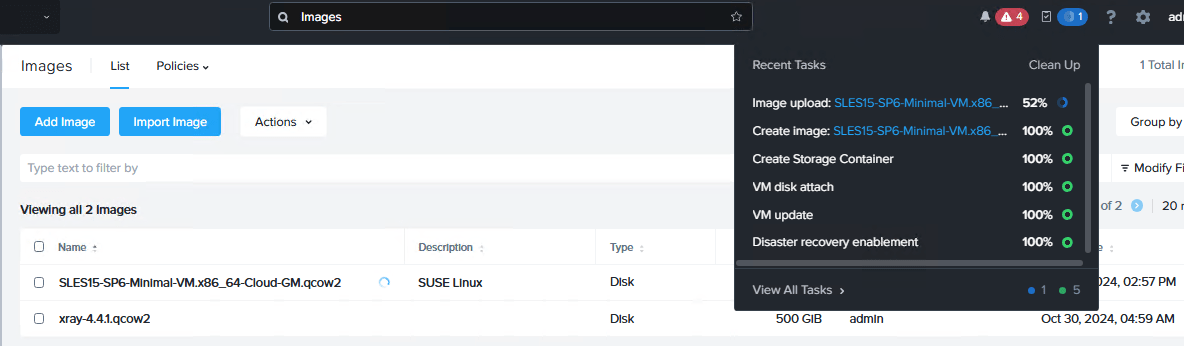
Give it time to process and provide updates.
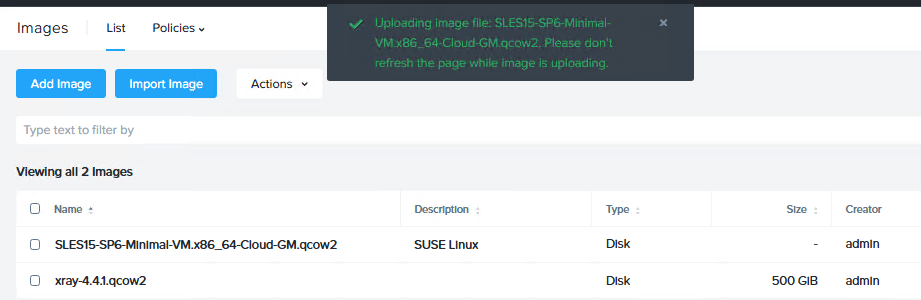
Eventually you’ll see the upload task running.
Step 2:
Create a VM with that disk.
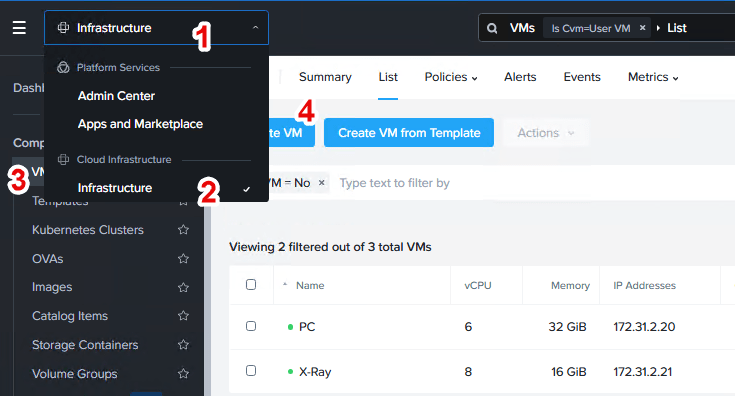
Navigate to Infrastructure / Compute & Storage / VMs and click Create VM
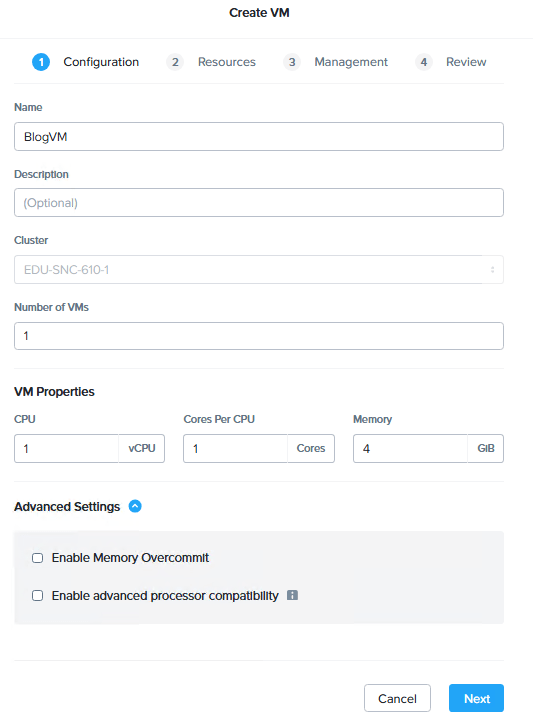
In Prism Central the VM will default to 1 vCPU/1 core and 4GB of RAM. Which is more than enough for my SUSE plans.
Note that Memory Overcommit is set on a per-VM basis from Prism Central (its not available in Prism Element) and enables powering on VMs with more memory allocated than the host physically has. in case on contention this is managed using a balloon driver in the guest or swapping to disk.
Also, the advanced processor compatibility checkbox allows you to set the processor family version for the VM. This could be useful if you have different versions of processors in a cluster or when you want to Live Migrate between cluster with different processor families.
PE Note:
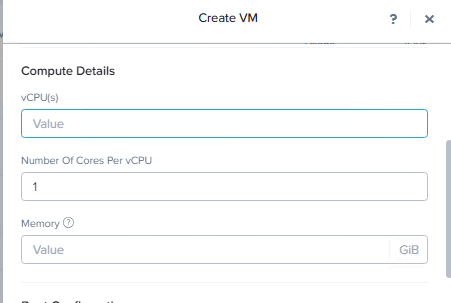
If you are using Prism Element, it defaults to 0 vCPU and 0 Memory so make sure you set that. (You’ll get an error.)
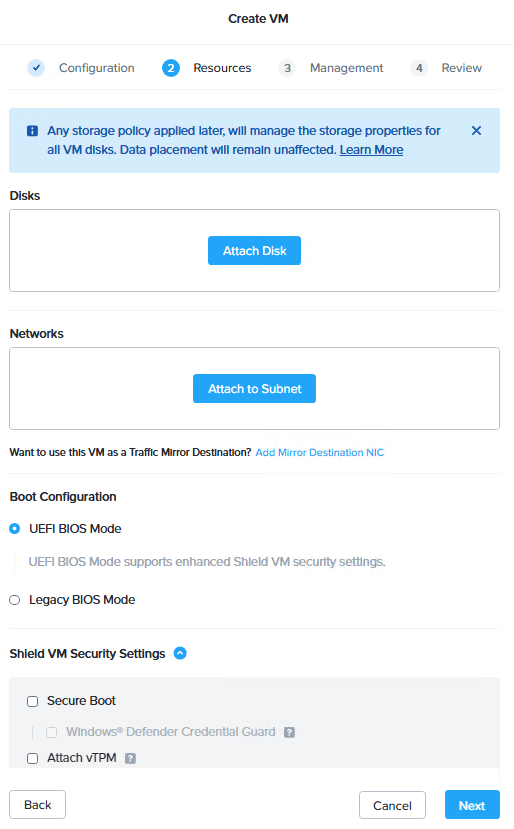
On the second page of the Create VM wizard you’ll set the network and (most important) the disk.
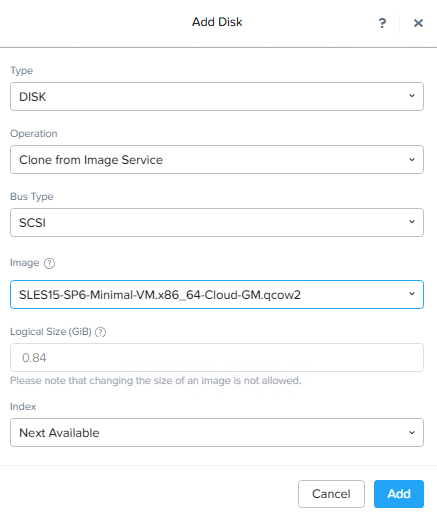
For the disk choose clone from image and select the image you uploaded. You can upload the image if needed. My qcow2 image has no extra space, so I’m kicking it to 20GB.

Prism Element Note:
In Prism Central you can edit the Capacity here. In Prism Element this is greyed out when you attach the disk.
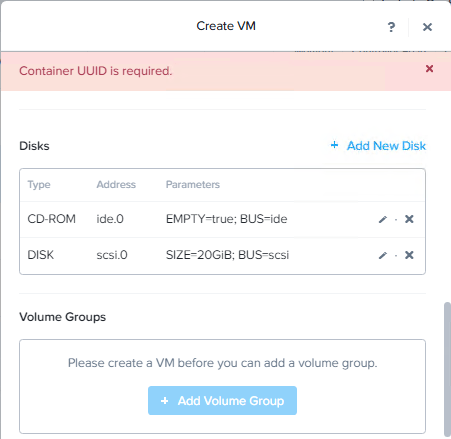
If you attach the disk then update the attached disk immediately, the VM will not create with a “Container UUID is required”. However if you attach the disk and create the VM, you can then immediately edit the VM and update the disk as needed.
Continuing with the VM creation, You can just hit next a few times and then save.
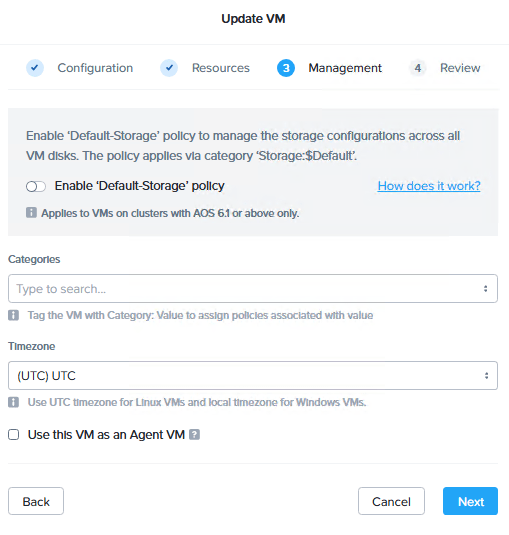
Wait for the VM to create then power it on.
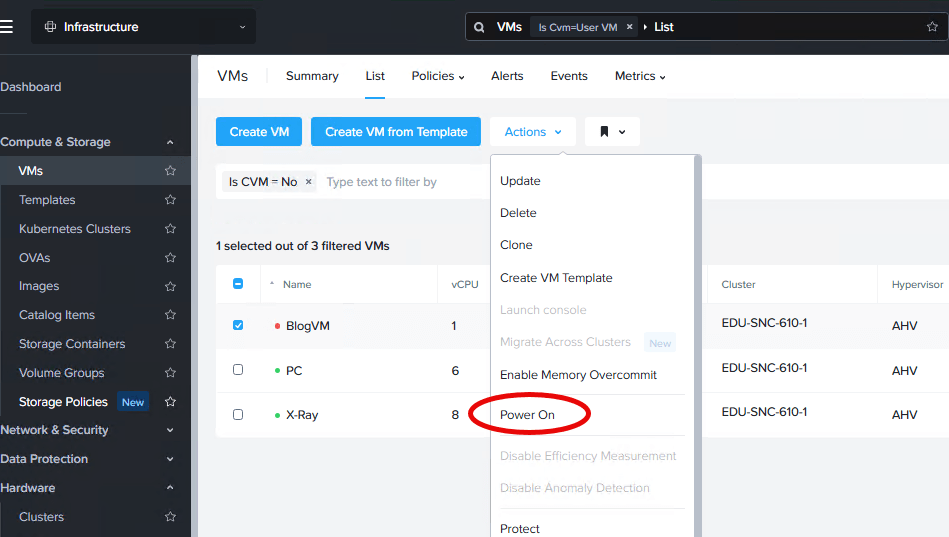
I’m using SUSE here but the basic idea is the same. Note that this specific method winds up with the disks needing some partition work.
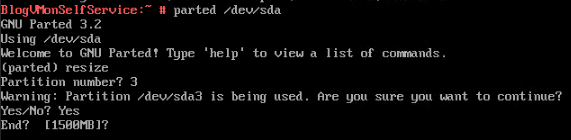
I used parted /dev/sda | resize | 3 | Yes | <new total size>
and then xfs_growfs /dev/sda3
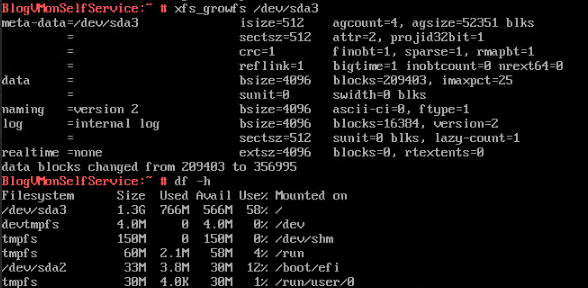
But I have modest needs and this VM wont live long.
